I was playing around with converting a WordPress site to a static html site and ran into a "WARNING: ZIP extension mission" message when I tried to use zip.

After some digging around, I realised I needed to install PHP zip. This is a server on which I have WHM, so I'll go through how I fixed it here.
How to install PHP Zip on WHM:
- In WHM, go to EasyApache 4
- Customize the current package
- Under "PHP Extensions", do a search for "zip"
- Enable phpxx-php-zip for the installation, or for all installations
- Provision the changes and restart Apache
Let's go through those steps now.
Log in to WHM. If you're confident enough to fix this, you'll know what your login for WHM is. If you don't know it, it's probably best you get in touch with your hosting provider to do this for you.
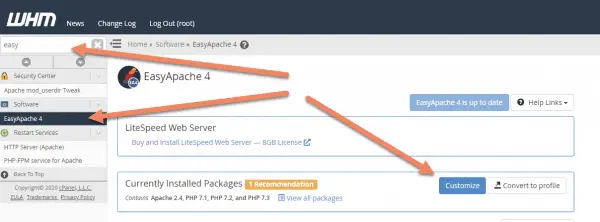
Do a search for "easy", click "EasyApache 4" under software and click "Customize".
You might have a different number after EasyApache. Just choose that one.
If you have multiple EasyApache versions, choose the highest one. You'll likely get an error message if you choose the one that's not currently running.
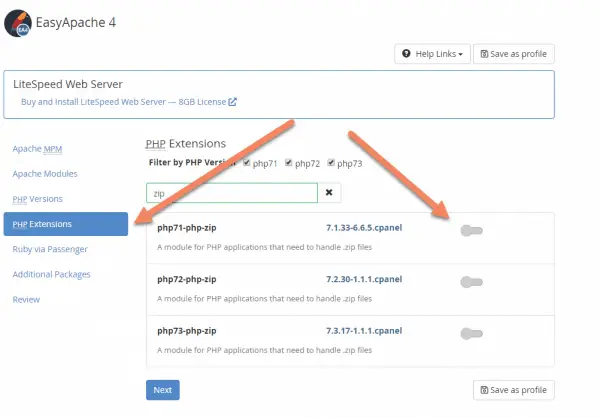
You can go through each of the options if you like, or just click on PHP Extensions to jump to the part we need.
Do a search for "zip", or you'll be scrolling for awhile.
You should see a list of PHP Zip modules, one for each of the PHP versions you have installed on the server.
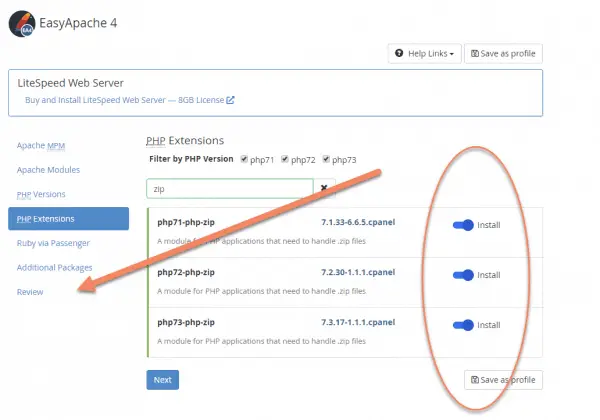
If you know you're only going to need it for one version, just enable that one. I don't see the harm in enabling for all.
You can either click "Next" until you get to the end, or just click "Review" in the side.
Under Review, you'll see the list of packages you're going to install. Check to make sure there's nothing unexpected in there. It will also list any upgrades or other affected packages.

When you're happy with what's being installed, click "Provision" to roll it out.
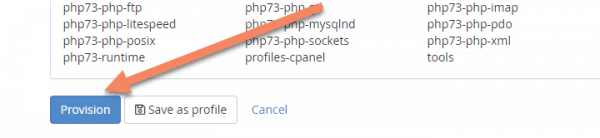
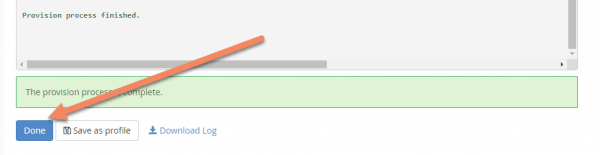
It will take a few seconds to install the packages. You should see "Provision process finished" and "The provision process is complete."
Click "Done".
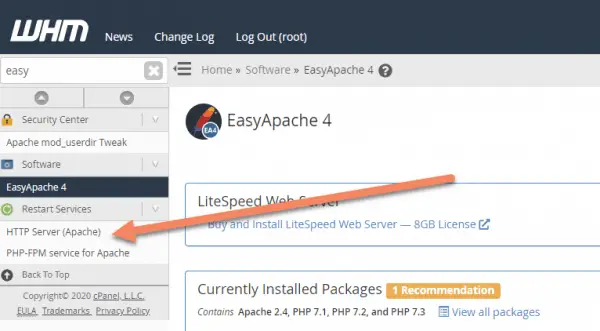
For the last step, you need to restart Apache. The changes you made won't take effect until you've restarted it.
You're not restarting the entire server, just the Apache software. I know it says "HTTP Server (Apache)", but it's just talking about the specific software on the server rather than the whole machine.
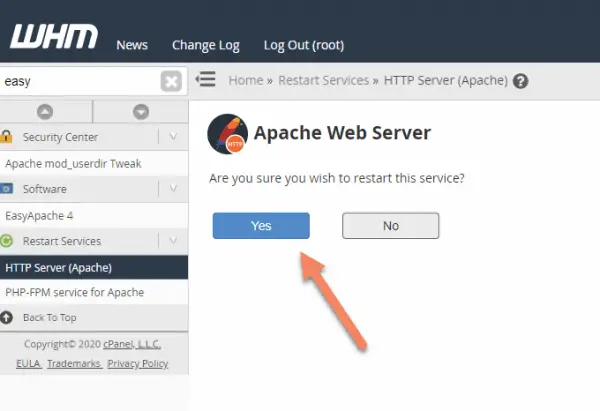
Click "Yes" when prompted to restart Apache Web Server.
It should only take a few seconds to restart Apache. You'll see the message "Apache restarted successfully."
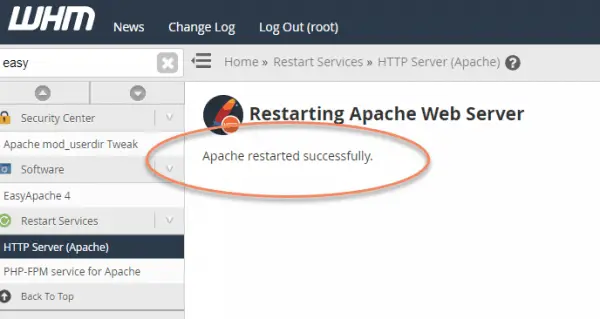
Now when you go back to your website, you won't see the error message about Zip not being installed.
I hope you found this tutorial useful. If you have any questions, please comment below.

Perfect - love to find these tut's from others who have gone before! Thank you.